What is the best way to tackle cleaning a bathroom when moving house?
Most people who move out of a home, do their utmost to ensure that it is left as clean and tidy as possible.
Sadly, not all people are as diligent. Plus, everyone’s cleanliness standards vary, so your new home may not be as spic and span as you would like it.
Cleaning a bathroom properly is so satisfying. And it’s surprising just how many of us don’t know where to start with how to clean a bathroom.
Having a deep clean before you unpack all your bits and bobs means that you have more space to work in and avoid the added difficulty of needing to work around a bunch of boxes.
It also provides you with an opportunity to get up close and identify anything that might need to be repaired or replaced.
The bathroom is a good place to start your cleaning as it is likely to be one of the rooms which will need to be fully operational almost immediately.
We have some top tips for cleaning a bathroom when moving in that will leave it not just looking and smelling great but germ-free as well.

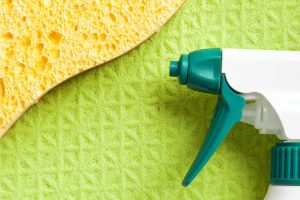
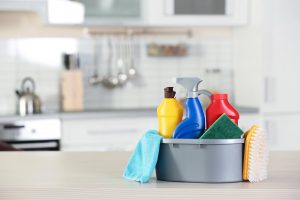
Basic Cleaning Equipment Needed
To save you from having to keep going back and forth to retrieve cleaning materials, it is a good idea to have them gathered together at the start of the job.
Items you will need include:
- Rubber gloves
- Disinfectant wipesBucket & mopSeveral cleaning clothsBroomToilet brushKitchen rollCream cleanerBleach / white vinegar/limescale removerWindow cleanerFeather duster (for removal of cobwebs)
- Hoover
Start at the Top of the Room
As dirt and dust falls downwards, start your clean from the top of the space and methodically work your way down.
Give the ceiling a brush over with your feather duster, removing any cobwebs from the corners and along the cornice area.
Vents, fans, and light fixtures can also be dusted down with a long-handled duster followed by thorough vacuuming with the long vacuum hose.
Bathrooms attract a lot of dust from towel fibre and when the walls get damp after showering, the fibres and dust can stick to the walls. So they will also need to be wiped with a duster.
You will be surprised at how much dust just sits against your bathroom walls.
Mould and Mildew
Bathrooms provide perfect conditions for dampness and mildew to form and this needs to be addressed before the rest of the cleaning can begin.
If you have a relatively small issue with mould, it is easily dealt with.
Apply white wine vinegar and baking soda or bleach directly to the affected area with a toothbrush and leave for a few minutes. (For more stubborn stains you may need to leave the solution on overnight).
When you can see that the stain has gone, give it a wipe with clean water and a damp cloth followed by a wipe with a dry kitchen towel.
You want to make sure the surface is completely dry.
TIP: Mould and mildew form and thrive in damp humid areas so it is important to keep the air moving. Open a window if you can after showering to allow the moisture in the air to evaporate.
If you don’t have a bathroom extractor fan, get one fitted. Having the window or fan on will also prevent bad odours from lingering.
For extra tips about dealing with mould and mildew visit the wikiHow website for more information.
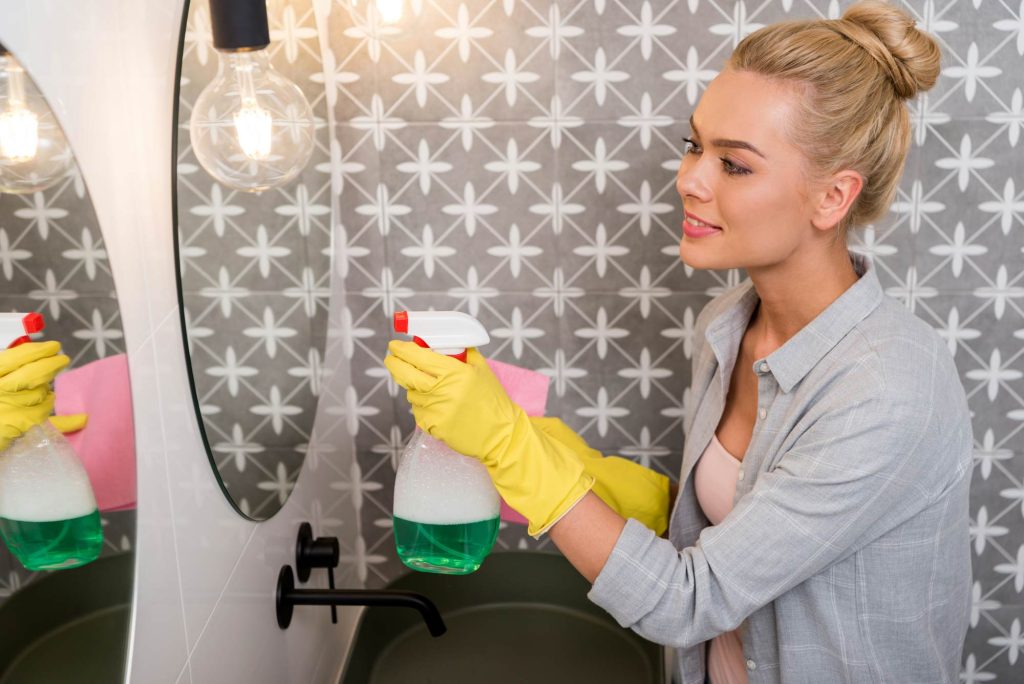
Windows and Mirrors
There is nothing more annoying that dirty smeared mirrors and windows.
No matter how clean and germ-free the room maybe it won’t look as good if the glass isn’t sparkling.
There are many ways to achieve shining windows and mirrors.
Generally, a little washing up liquid, water and squeegee method works best for windows.
Clean the frames and windowsills well first.
There may be some black mould along the back rubber seal between the glass and frame.
Using a small toothbrush and neat white vinegar and a little gentle elbow grease will clear this.
Then you can spray with window cleaner and wipe with a clean dry cloth.
Mirrors can be tacked in the same way, and you can finish by using our helpful tip below.
TIP: Using shaving foam to clean your mirrors will stop them from fogging up when the bathroom becomes steamy. Simply spray it on, use kitchen roll to polish it off and you’ll have a gleaming, steam-free mirror for around two to three weeks (or until it gets splashed again).
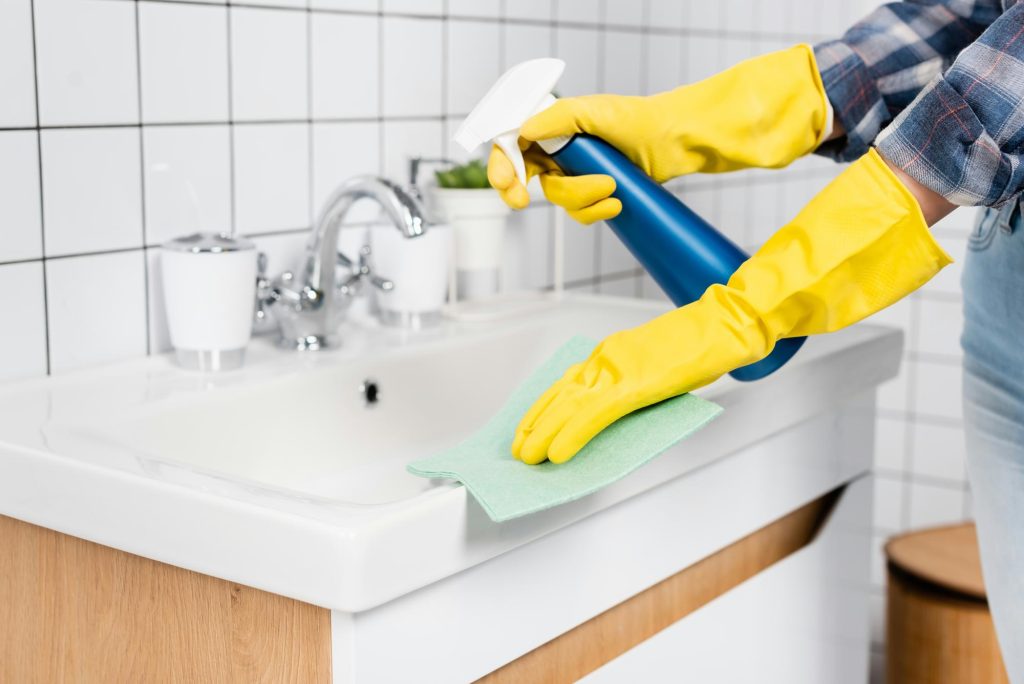
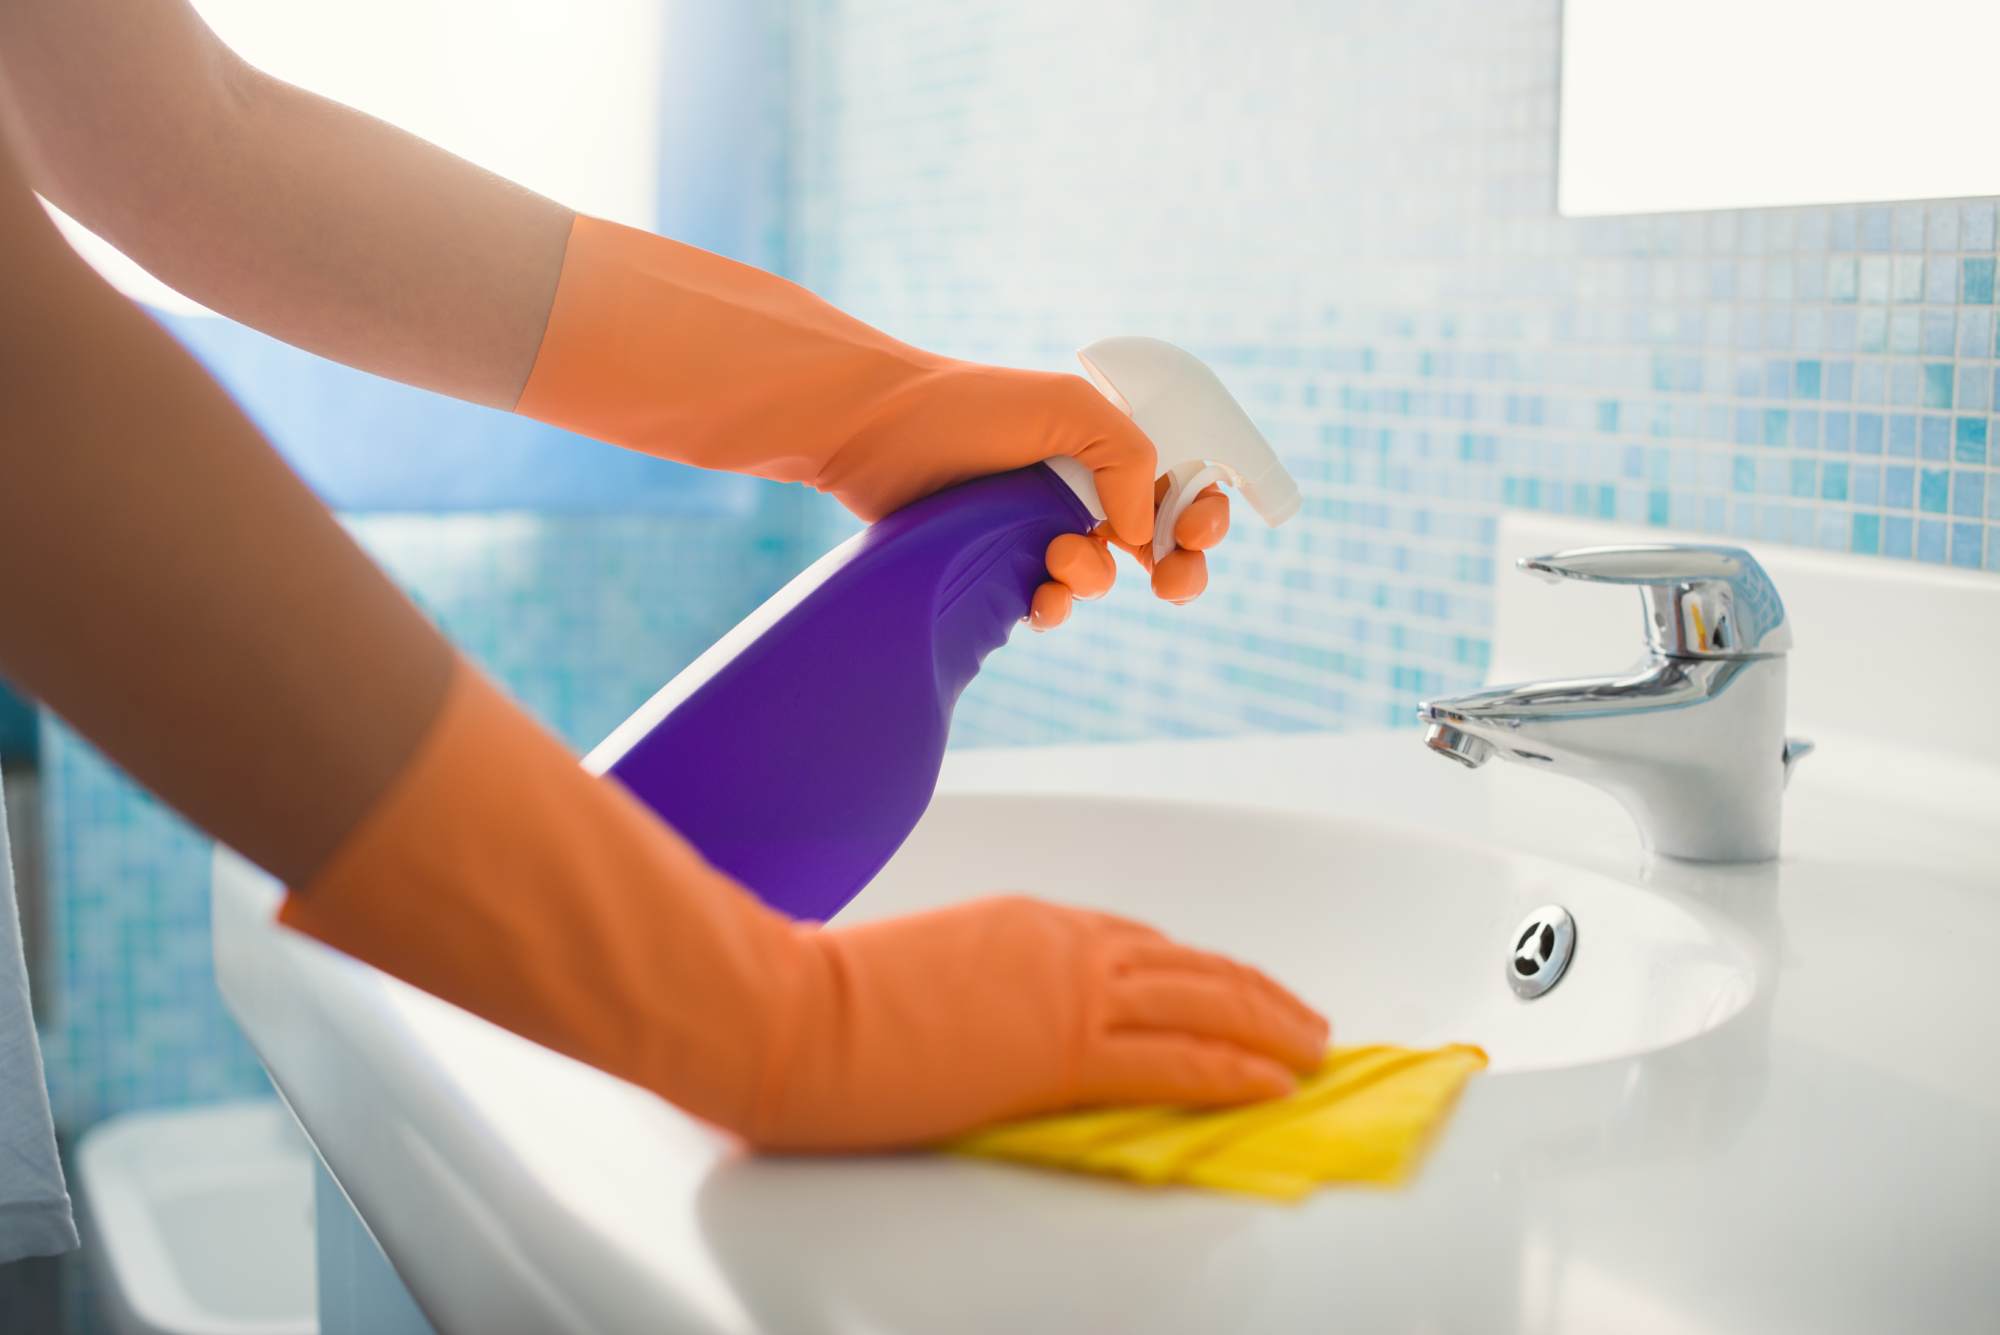
Scrubbing the Shower, Bath & Sink
Next, we can make a start on the sinks, shower and bath.
You may have either a free-standing shower and a separate bath, or you may have a shower over your bath. Either way, the cleaning method is the same.
Start with the screen, or any glass surrounding your shower.
A product such as Viakal or Cillit Bang works well, however, our trusty bottle of white vinegar is just as good.
Spray the sink, bath and shower surface area and leave for a few minutes before rinsing off.
The shower tap might need a spritz of limescale remover as well.
Cream cleaner or a mixture of baking soda and water made into a paste will deal with difficult watermarks.
Finish by wiping all damp surfaces with kitchen roll or a dry soft cloth.
TIP: Whilst you are cleaning the enclosure, you can take the shower head off if it needs descaling.
No one wants a grimy unpredictable shower experience. If the shower head is not thoroughly free flowing, you will have water shooting in all directions.
Simply pop the head into a small plastic sandwich bag and pour in neat white vinegar and leave it for 20 minutes (or overnight if you can). The vinegar will quickly dissolve any stubborn limescale.
Disinfect the Loo
Using a different cloth, the toilet needs to be thoroughly disinfected
Start with the cistern working your way to the lid, the loo seat (underneath as well), the seat rim and finally the whole outside area.
Let the disinfectant work for a couple of minutes in the meantime you can clean the inside of the loo.
Again, a little cream cleaner or baking soda may be needed here. Sprinkle it around the inside and using your toilet brush give it a good scrub.
Unsightly toilet stains are a no-no particularly so if they are not yours!
TIP: To remove deeply ingrained stains, drop a dishwasher tablet into the toilet water and leave it overnight. In the morning a flush should be all you need to bring it back looking like new.
Bathroom Cabinetry
These need a good wipe inside and out.
Here you can use disinfectant wipes to ensure all surfaces are reached and rid of germs.
Inside drawers and cupboards also need wiping and once dry you can start to pack your own toiletries inside.
If inside drawers are stained, you can buy some pretty, sticky back plastic or scented draw liners to hide them.
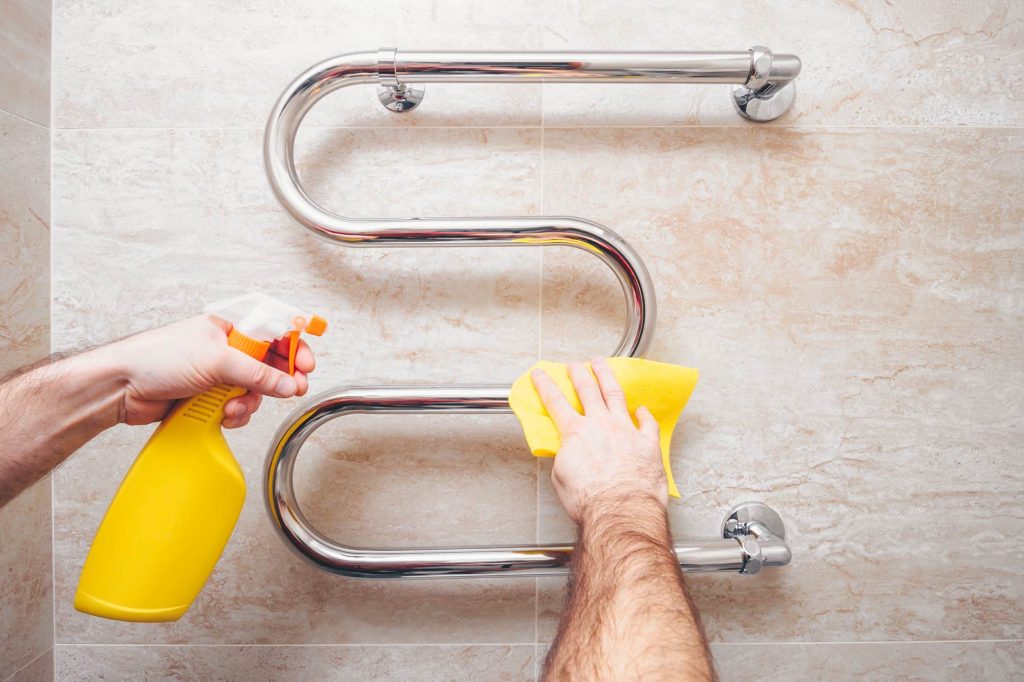
Radiators
Don’t forget the radiator or heated handrail.
There are so many radiator designs these days, how you tackle this job will depend on the type of heating you have.
Use the hoover first and remove any visible dust that has settled in between the cracks and vents.
Some radiators have a handy clip that you can twist to release the grill. This does make it easier to reach the dust and remove it.
If not, you can buy a long thin flexible radiator duster designed for the job. They are not expensive but very handy.
Amazon and most hardware stores sell them.
Cleaning the Bathroom Floor
This should be the last cleaning job in the bathroom.
Start by giving the water pipes and skirting boards a good vacuum as dust tends to gather in these places very quickly.
Finish by wiping down with a soapy damp cloth and dry.
The floor will also require hoovering.
How you clean will depend on whether your floors are wooden, laminate or tiles.
They will all need to be washed with a strong disinfectant solution.
TIP: If you do have wood or laminated flooring take care not to over-wet the surface to prevent warping. Even better there are plenty of products designed specifically for cleaning and looking after these types of surfaces.
Finishing up
The cherry on the cake following any bathroom deep clean is the finishing off or dressing the room.
You can now put out any wall hangings, ornaments or pretty jars and soap dispensers.
Nothing feels as nice as fresh clean towels. These can be placed in strategic places along with a fluffy shower rug.
All that remains, is to pop an air freshener in the room so that it smells lovely every time you use it.
TIP: You can even make your own room smelly. There are plenty of scent combinations too. Housewife How-Tos is a fantastic website and is packed with ideas for making homemade air fresheners.